Wednesday, January 19, 2011

Shameless Self Promotion


Okay, y'all! Time for a little shameless promoting of my shop...something I'm not usually very good with (and still may not be)...and something I have seen a few other bloggers say is difficult for them as well!

I opened my shop in August with the intent of focusing on my upcycled & recycled projects...it has taken some time to get enough projects complete and photographed and up...but I'm proud of my work thus far! However...I haven't done much in the way of promoting because I'm just not sure how! Plus, I hate to bombard people...I feel like it can turn people off..."oh look at her, thinking I want to buy her stuff...nuh-uh!" :) hehehe

But I was encouraged by my second sale yesterday, and decided to post a special on my fanpage...I didn't intend to blog about it BUT...so many of you have been so nice and encouraging of all my projects (personal and Etsy) that I wanted to extend it to y'all as well! So...15% off of any purchase in my shop, between now and Friday...just visit my fanpage for the code.

If you'd like to take advantage, head on over to my shop...


Wonderful Wednesday


Happy Wednesday everyone!

What are you working on right now? I'm trying to round out my list of "to-do's"--or should I say, "to-makes"--for Baby Boy's nursery. We are finally finishing up our porch-turned-room (post on that when it's done!) so that the hubby can have his home office and Baby Boy can have a room!

Anyone have any fab nursery ideas or suggestions you'd like to share??? I know I have lots'o'mama's blogging out there, so I'm open to ideas, advice, pictures, projects...I am working with a small space though! :)

If you're perusing Facebook today be sure to check out Designs by Mila. She's one of my 'real-life' besties, and she makes the prettiest jewelry! Mila is working on a new line of jewelry crafted from 'broken' china, and it's sure to be a hit! Her giveaway is open until Friday, and it's super simple to enter!


And please--share any baby room ideas, projects, pictures, etc. with me below! I would love to see what you have in mind!!!

Tuesday, January 18, 2011

Covered Wipes Case

I ran across a covered wipes tutorial on Spunky Junky's blog. With my little boy being due soon I've been on the lookout for some projects just for him...and this one seemed like a fun one to try!

I followed the tutorial pretty much as it was...my wipes case didn't have the book-like binding so it made covering the crease (where it opens) a little difficult. I would definitely recommend finding the Huggies case if you plan to do this--makes it easier :) So here we have my plain-Jane Pampers case...

I also didn't take the time to find the cotton batting that is recommended, but it didn't seem to make much of a difference. This is some type of inexpensive, soft, felt-like material I got a Wal-Mart instead.

So I glued down my felt to the top and bottom surfaces and then decided on this wild blue paisley print fabric I have from who-knows-what project.

When deciding on trim, I picked out lime green and blue...just to mix it up a bit. This is some scrap lime green stitched felt trim remnants I had, and it was too wide to trim out the top with...so I just cut it in half down the middle.

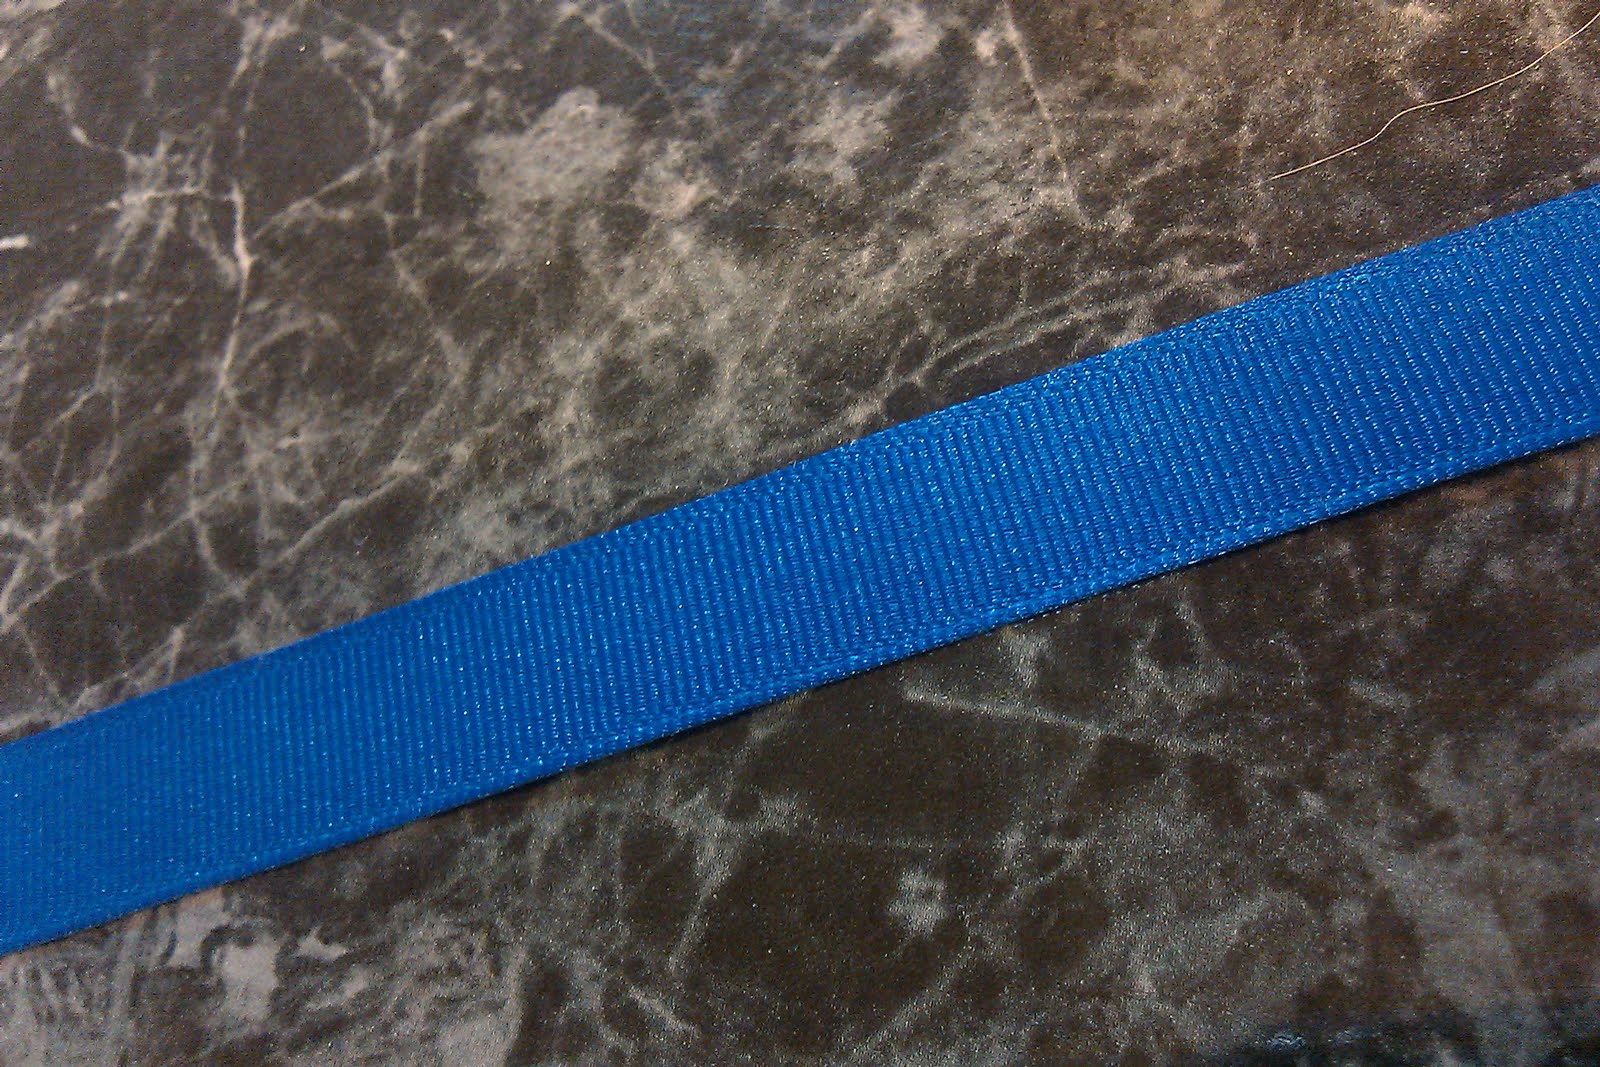
The royal blue ribbon was some I found on clearance at Michael's, with snowflakes no less...

Good thing it wasn't on both sides :)

I'm pretty happy with the way it turned out. The tutorial was great, definitely had enough detail, and I must say the possibilities to customize this, personalize this, are completely endless.

I think it would be super cute to monogram it, maybe just use some of those iron-on letters you can find at Hobby Lobby or Michael's.


Or what about a cute little owl? Frog? Monkey? Now I want to make a few more just to try out different combinations and get it a little more "right"!


Photobucket

Tuesday, January 11, 2011

Mirror Make-Over, Upcycle, & Tutorial


Let me start by saying, this is sort of...a tutorial-light :) I've never done one before, and this was sort of a fly-by-my-seat project so I didn't know *what* was coming next. Do any of you ever start a project with one finished vision in mind and then...that's not how it ends? Well, that's pretty much how this went. The one thing I knew from the start was--whatever the end result--it was going to be mine! :)Over a year ago, I found a cute round mirror on clearance at Hobby Lobby (oh how I love that place). You can see in the close ups it has some flaws. But I knew I eventually wanted to embellish it, so I figured, hey why not?


So if you've seen my shop, my fanpage, previous posts...I have a 'thing' for making magazine bowls. It's actually pretty therapeutic. So I figured why not use the same spirals I make to create the bowl bases, to make a 'frame' for the mirror...only I didn't want to put them directly on the glass. I wanted it a bit larger, chunkier. So then...ended up with this nice, 12x12 piece of cardboard, and found some super bright and bold pages I'd saved up for a bowl...and voila! Mirror time.


So if you want to do this yourself, you're going to need bunches of magazine pages (conservatively, 50+ for what I did), sturdy cardboard, a glue stick, craft glue, glue gun, cardstock or scrapbook paper, an Exacto knife, and some sort of circle template. I got a fabulous pack of cardboard circle templates on clearance at--yes, Hobby Lobby--for get this--39 cents. I used a template slightly smaller than my mirror to trace onto the cardboard in order to disguise the scratches on the mirror.


Using the Exacto knife, I cut the circle out of the cardboard. Next, I used my cardstock to cover the hole. I used Aleene's craft glue--I LOVE this stuff. Gosh it's awesome. Okay so, I centered the cardstock over the hole, glued it down, and let it set while I rolled up my spirals.

Before they are rolled, they're folded and look like this:


You can fold them thinner, thicker, whatever your liking. I glue the flap down using the glue stick, and be sure to leave some openings on each end; these are the spaces we'll use to join each strip together. Mine are about an inch thick. The thinner they are, however, the more annoying they are to roll up...just a warning :) Then start rolling them up, and use a thin line of hot glue to secure them (it works best and sticks immediately, unlike the glue stick).


Okay then! So I have several spirals rolled up. I wanted them to vary slightly, so I rolled them up using 2, 3, and 4 strips. I wasn't sure how many I would need, so I rolled a few and started piecing them around the mirror. At this point, I cut the center of the yellow cardstock (the circle) from the cardboard to have my circle open and arranged my spirals around it until I found a way that worked. Here's a picture of some of my finished spirals.


Once the spirals are finished, use your trusty hot glue gun to glue them in place around the circle. Do yourself a favor, and save the mirror part for last. Get your spirals glued down, press firmly for a few seconds, make sure they're secure. After everything is glued down, flip it over and glue the mirror to the back side of the cardboard. Again, I used the hot glue gun for this as well. When everything is done, wait wait wait...and let it set a bit. It's going to be heavy. I weighed mine after it was done, 1 ounce shy of a pound. For a mirror that's roughly 6 inches, it's pretty heavy. To finish it off, I used the Exacto knife to cut around the general shape of the spirals. So here are some pictures of everything all finished, and to be honest--it's hard to photograph a mirror!


I really love the way it turned out, and hopefully I can finagle some better pictures at some point...perhaps once I determine where it's home will be :)

I'm linking up here:

Gettin' Krafty With It

and here:


and here:

Photobucket

and a new linky party you can find here:

Link up you latest project every Wednesday on the Elle Belle Creative Your Way Wednesday link party!


Monday, January 10, 2011

Snow!

I live in Upstate South Carolina...and for those of you who aren't familiar...the mere suggestion of even an inch of snow is enough to slam the grocery stores and shut down schools before the first flake is spotted. I always love snow, but we never get much (2 inches? Blizzard here, folks) and it's not usually "pretty"...it's mostly ice and not much fun. I think we've had more ice storms in my life than true, plain old snow.

But today.....


We got SNOW!!! At least 7 inches of it, according to my front yard at least :) ...and I am so
excited!!! It is soft, powdery, and gorgeous! My littlest dog, Tigger (who thinks he is the biggest), usually is a bit of a priss when it comes to weather. He's not fond of going out in the rain, the cold, the wind...anything short of a perfect spring day, basically! So I wasn't too sure how he was going to like this. Especially since 7 inches is probably about the length of his legs...


So we sat him down to see how he reacted...pretty calm it seemed. Wasn't sure how to walk...so he hopped...a lot...and then...it's like he went crazy! He ran, he jumped, he barked, he played with our other dogs (I have 5)...and by the time is was all over he looked like this:


Poor guy! He had so much fun! He got a nice warm bath and I think it's the first one he actually enjoyed! Next up I decided to try out a 'stuffed pizza roll' recipe I found...it comes from this super cool blog I discovered this week, and I just love her recipes! This is the 2nd of hers I've tried this week and both were divine! You can find the pizza one here: http://mrsbettierocker.blogspot.com/2010/08/stuffed-pizza-rolls.html

I didn't have pepperoni like I thought, so they ended up being cheese only...but so yummy! If you try these, I highly recommend 2 batches, and stuff stuff stuff with cheese! I thought I did too much and it could have held much more! :) Here's what mine looked like out of the oven:


I hope everyone is having a fantastic Monday! I'm working on a somewhat-tutorial of an upcycled mirror I'm making...being snowed in, hopefully I can have it done this evening to share with you! (I've never done a tutorial...this should be interesting)

and the winner is...

Thanks so much to all of you who fanned me on Facebook...as you know, the lucky winner will receive a magazine bowl I made *just* for the occasion :)

...drumroll...

Melanie Kevin Joseph!
(you can find her super cool blog here: http://mylucky7design.blogspot.com/)

Melanie, thanks for being a fan and for your kind words! I hope you enjoy the bowl!

Please stay tuned here and on my fanpage (http://www.facebook.com/pages/beadsbuttonsbubbles/98674921681) for more giveaways! I plan to do many more!


Friday, January 7, 2011

Linky Parties

Happy Friday y'all!

So to all of my fabulous readers out there...and anyone else who happens to pop by and read this post...I am looking for some linky parties to join! Do you host one on your blog??? Since I'm still testing the waters and learning my way around, I only know of a couple here and there...I'm open to any kind: jewelry, recycled/upcycled, foodie link-ups, Etsy finds, etc...So if you host one, or know of a super fun party I could join, would you be so kind as to share them with me? :)

Also, for those of you who may have missed my earlier post...my magazine bowl giveaway ends Sunday...fan me on Facebook http://www.facebook.com/pages/beadsbuttonsbubbles/98674921681 and comment with your favorite item! That's it, and you'll get TWO entries--one for being a blog follower, and one for being a fan :)